TODO: To change the footer's content go to Dr.Explain menu Options : Project Settings : HTML (CHM) Export : Setup HTML Template and Layout
Name Segmenter
As an introduction to Name Segmenter, please take a moment to read the Segmenters page. It will help to give you a basic understanding of segmenters in general and a jump start on understanding how Name Segmenter works.
Segmenters are query tools which means that they assist you in creating a query using filters to get a segmented portion of your data. In this case, name segmenter produces a list of names. It is important to remember that if you want a list of GIFTS made by donors you will NOT get them here. Name Segmenter only outputs name characteristics. They are things like the donor name, address, introduction date, job title, spouse name, birthday, etc. It also gives you "GIVING STATISTICS" which can be confusing. While it does not give you a list of gifts it will give you "GIVING" information about the donor. They are things like Last Gift Amount, Last Gift Date, First Gift, Average Gift, Life To Date Giving, Year To Date Giving, etc. They are statistical giving information that tell you about the donor. They are characteristics of the donor so they are included in the output from name segmenter.
To set up a segment, Click on the Reports button on the left then Query Tools then Name Segmenter. You will find a list of segments that someone has already created. Segments you can be saved and run over and over again if needed. Click Add New to create a new segment.
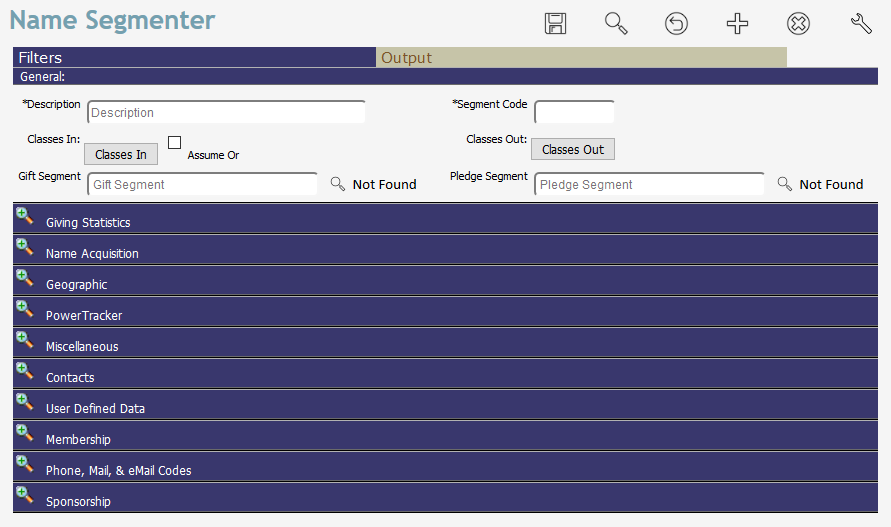
Give the segment a Description and a Segment Code. These fields are just like all other records you create in Denari. The Description is for you and the Code is for Denari. So the Description can be anything you want but the code must be unique. You can’t have two name segments with the same code. Those are the only two required fields.
As mentioned earlier, you are starting with everyone. If you were to run this segment right now, you would get all names.
There are two pages in a name segment, the Filters page and the Output page. The graphic above shows the Filters page. This is where you define who you want in the output. The filter options are separated in groups to make them easier to find starting with the Classes In and Classes Out buttons at the top and moving down the page. To make this document easier to navigate we have separated each filter section into it's own page.